The purpose of this blog is to detail the steps required in setting up your camera to the network.
Equipment Required:
- A PC with Cognex Insight Installed
- Cognex Camera (Any model)
- Network Switch with POE Ports
- Standard Ethernet Cable
- POE Cable
Process:
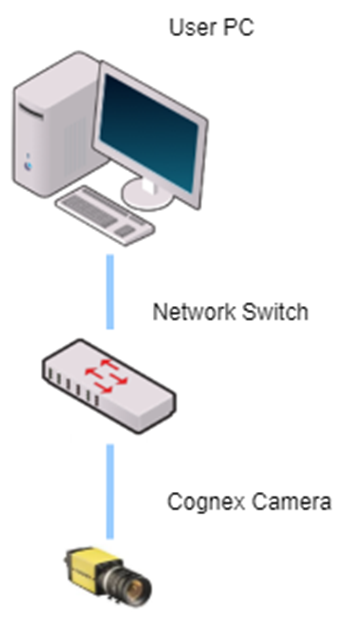
1.The First step would be to ensure that the equipment shown in the network architecture are plugged in and powered.
2.Then connect the PC to the Network switch via ethernet cable.
3.Connect the network switch to the Cognex Camera via POE cable.
4. Once connected and turned on open your network and sharing by browsing to your control panel > network and internet > network and sharing center. Her you will see all of the current connections to your device. In this scenario I have only one ethernet connection and that is to the network switch.
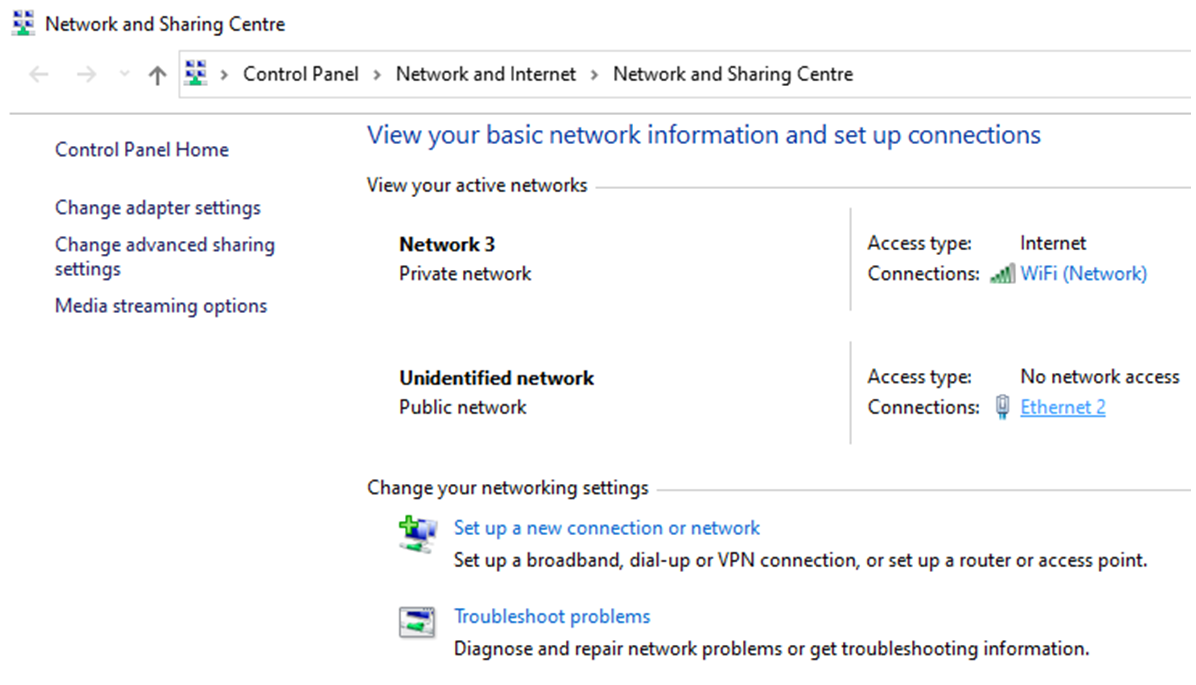
5. Open the Ethernet connection status panel by selecting the ethernet connection name, in this case "Ethernet 2".
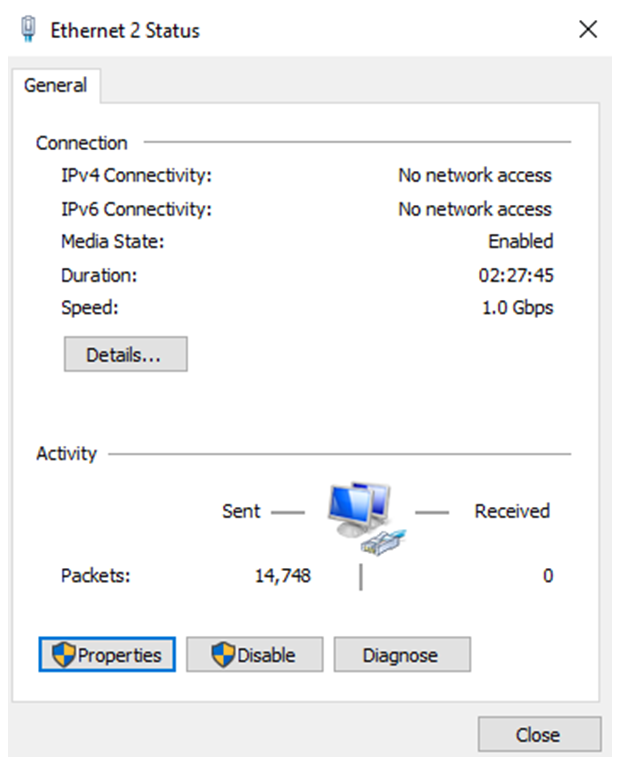
6. Select and open "Properties".
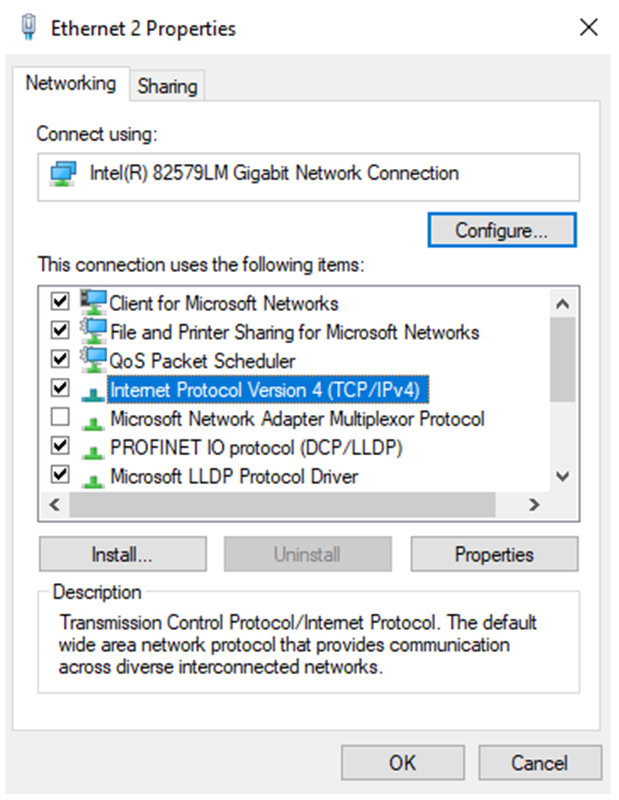
7. Ensure Internet Protocol Version 4 (TCP/IPv4) is checked.
8. Double click Internet Protocol Version 4 (TCP/IPv4) text to open the properties panel.
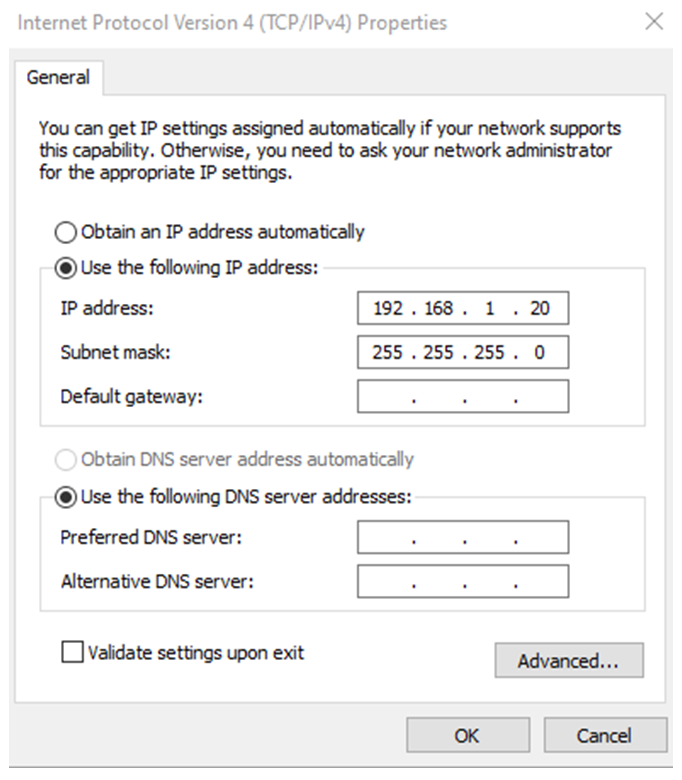
9. Select "Use the following IP Address".
10. Enter a suitable IP Address (This will be the address of the network switch).
11. Enter a subnet mask 255.255.255.0 is default. This separates network and hoist addresses.
12. Press OK to close these panels.
13. Open Cognex insight software in Easy Builder.
14. Select "Get Connected Icon"

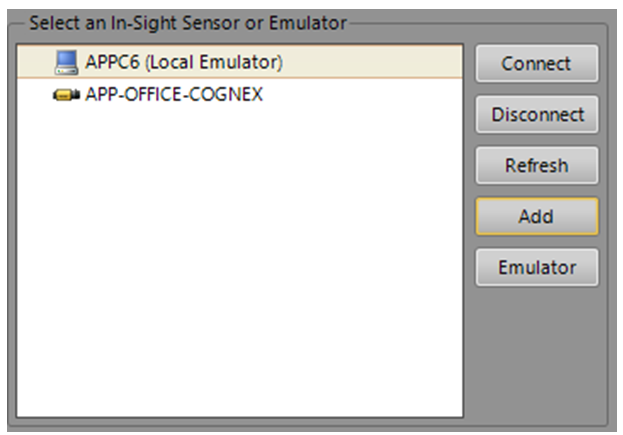
16. Under "Select an In-Sight Sensor or Emulator you will see previously connected devices. Select "Add" to add your device to this listing.
17. Your sensor will appear here. Select it and check the option to "Use the following network settings".
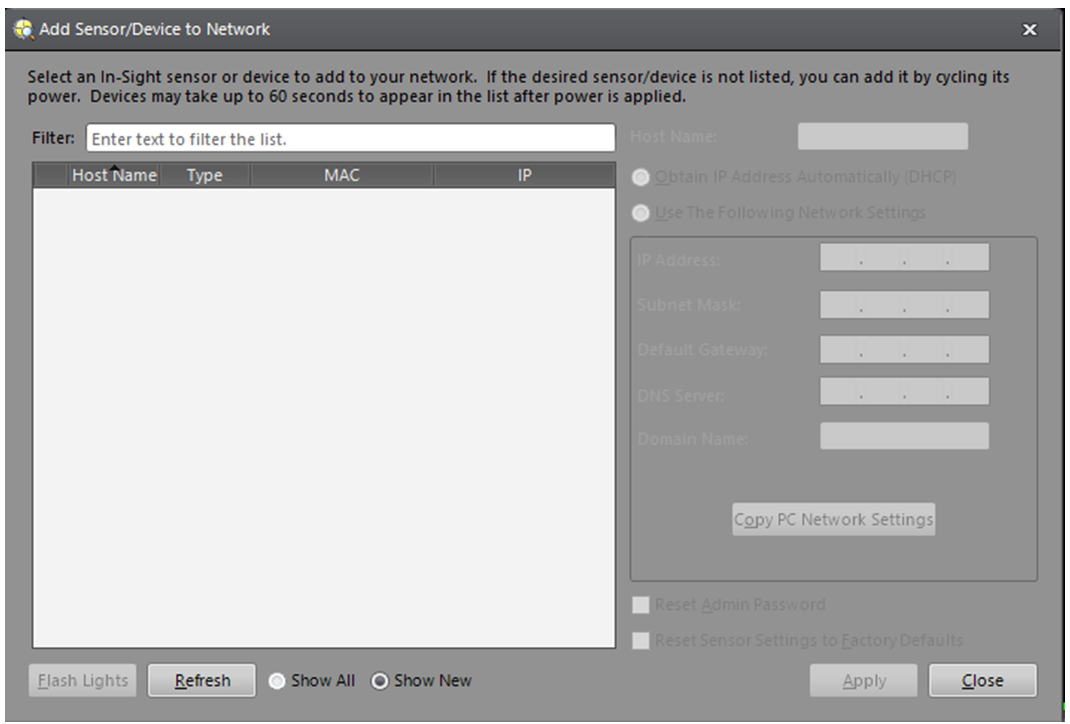
18. Now enter the IP Address and subnet mask of the device.
19. Click "Apply" to save these connection parameters.
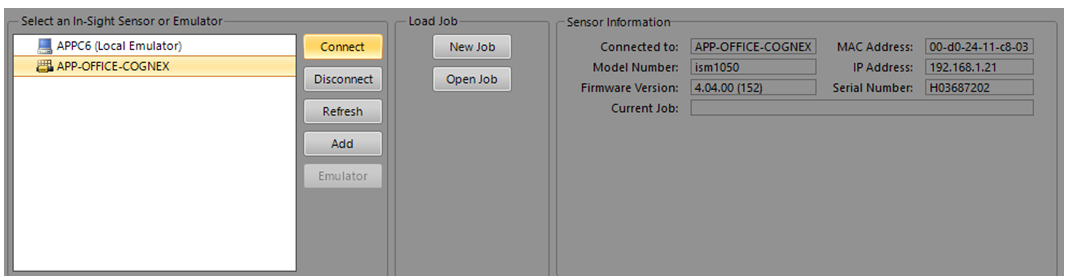
20. Now the camera should appear under "Select an In-Sight Sensor or Emulator". Select it and click the connect button.
Conclusion:
Connecting to cognex cameras and setting them up on your network can be tricky but if you follow these steps the process will remain quite straight forward.
Thank you for taking the time to read this blog and if you have any queries please feel free to reach out at contact@appliedprojectsengineering.com